
User-first starting point
You want a tent that disappears in your pack but shows up when the storm hits — no drama, no extra kilos. Think of what matters most to you: sleep comfort, wind resistance, quick set-up, or simply shaving grams to move faster on ridge day. If you’re comparing package deals while planning, consider a camping tent bundle as one practical way to match shelter, stakes and guylines without hunting parts across different brands.

Core needs for a solo ultralight hiker
Start with three firm criteria: total weight (shelter + stakes + guying), usable interior length/width, and weather protection (rated for wind and rain). Pack volume matters when you’ve only got shoulder straps to spare. Materials and seam treatment determine how the tent behaves after three wet nights. Make the shelter suit your rhythm: long vestibules if you cook inside, faster poles and fewer pieces if you’re doing pre-dawn moves.
Simple features that change outcomes
Choose a floor area that fits your sleeping quilt and pad without cramming. Prefer doors that allow gear access without climbing out. Check pole clips vs. sleeves — clips speed up pitching at the cost of a touch more wind noise. Look for reinforced stake points and continuous guylines; cheap tents skimp here and you’ll notice on exposed ridges. A small vent you can open from inside keeps condensation down.

What most solo hikers get wrong
They chase headline grams and forget real use: a tent weighed at the lab doesn’t include tent pegs or repair tape. People assume single-wall equals lighter in practice, but condensation can ruin sleep and force midday setback. Another mistake is ignoring local terrain: sand, volcanic ash, or thick alpine grass need different stake choices. Lastly, never assume any tent is easy to pitch in wind without practicing once at home.
Quick, practical evaluation checklist
Rig these steps before you buy: 1) set it up solo in your yard in under eight minutes; 2) test vestibule room by fitting your pack; 3) inspect seams, zippers and stake loops for reinforced stitching; 4) inspect pole material and splice quality; 5) confirm repair parts availability and weight of included pegs; 6) read one independent trip report from someone who slept in heavy rain. Keep the checklist on your phone for quick comparison while shopping.
Alternatives and trade-offs
Double-wall tents give predictable condensation control and are generally more forgiving in mixed weather, but they add weight. Single-wall shelters cut grams and pitch faster, yet demand careful ventilation. Bivy sacks save space but amplify heat and condensation problems. Tarps and hammock systems slash weight if you accept exposure trade-offs. Choose the compromise that keeps you moving safely and sleeping well.
Real-world field note
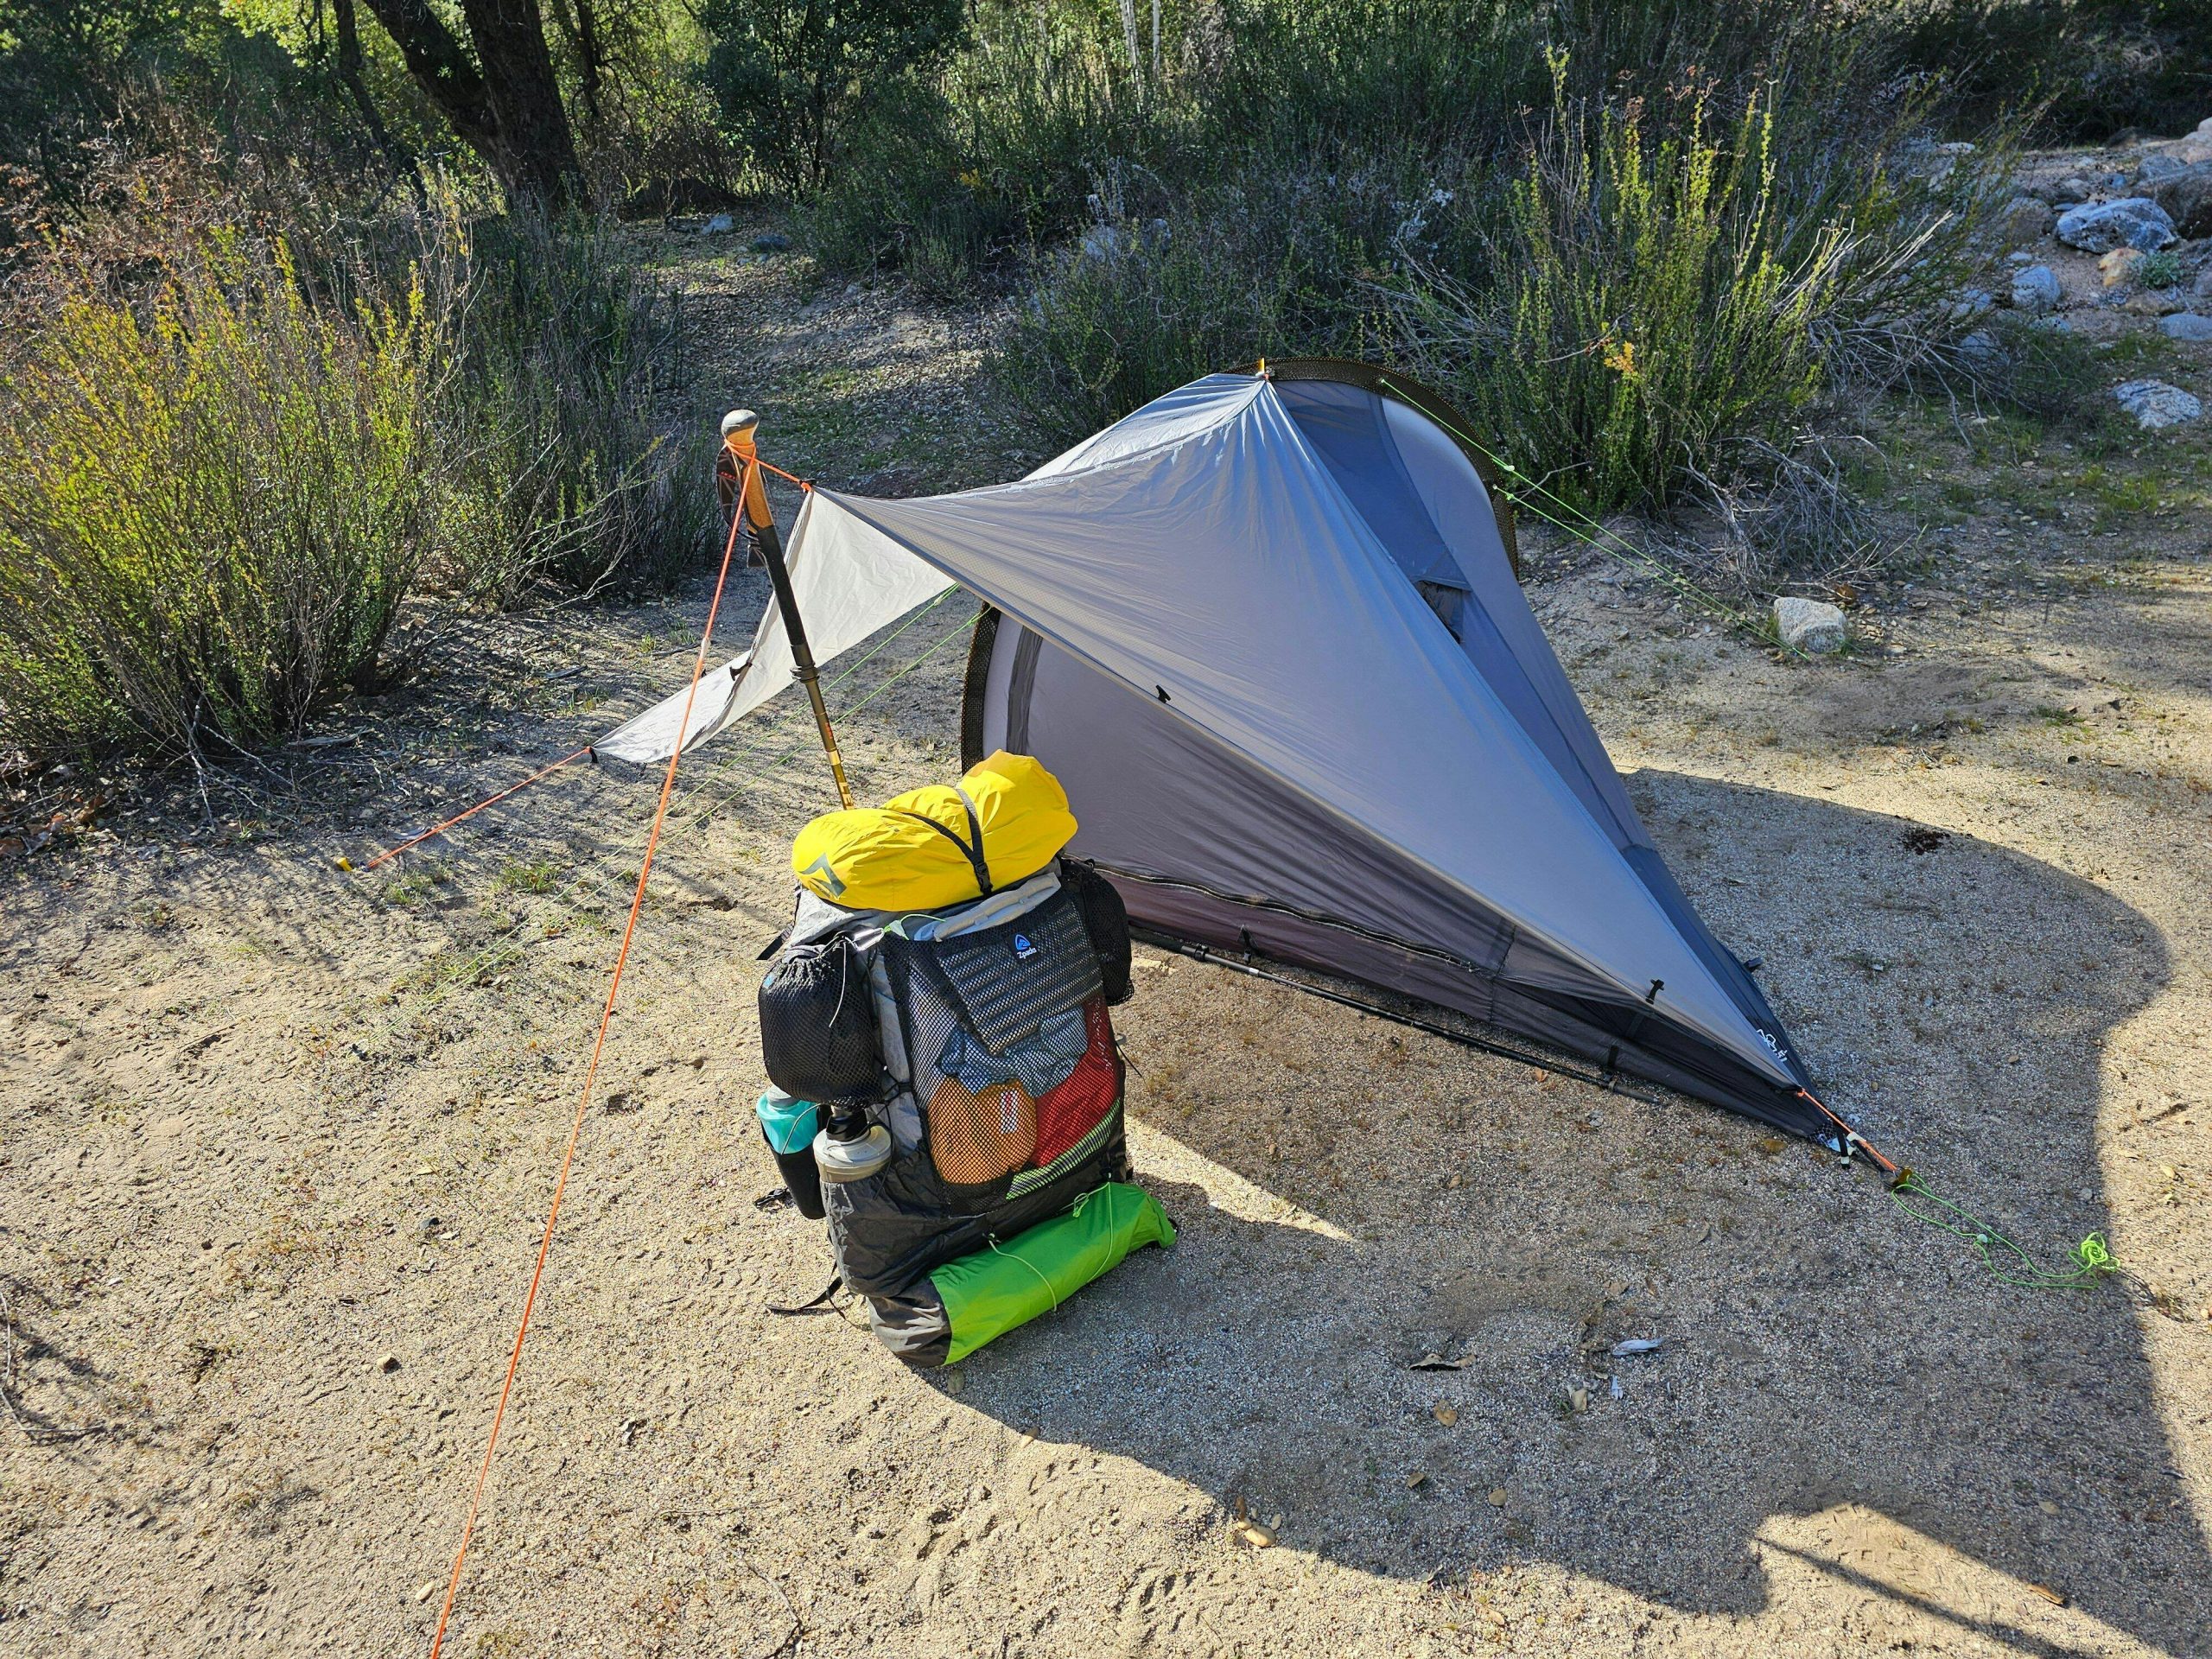
On a three-day approach to Mount Pulag, I evaluated shelter behavior through wind-driven fog and heavy dew using a lightweight tent 1 person. The tent’s pole geometry and stake points mattered most when gusts hit at camp; lightweight fabric held up because tension points were well reinforced. That test confirmed what users on steep Philippine ridgelines already notice: durability and storm discipline count more than tiny weight gains.
Decision guide for your next purchase
If you hike fast and sleep light, prefer a tent that balances real packed weight with usable comfort. Avoid headline specs alone; evaluate set-up speed, vestibule utility, and repairability. If you want a practical, tested option that blends those needs into one coherent package, look for a vendor that bundles shelter components thoughtfully, because an integrated approach saves you the common mismatch of poles, pegs and guylines that don’t play well together — the kind of sensible pairing you’ll find at THECATAL.