
The problem: competing demands on one footprint
Owners want shade, clean power, and a neat profile. Installers want reliable PV performance, uncomplicated wiring, and building-permit compliance. A solar pergola tries to satisfy both sets of requirements on the same small footprint. That creates technical friction: structural loading versus panel tilt, drainage versus cable routing, and usable headroom versus mounting depth.

Where common designs fail
People copy roof-array details and expect them to work on a pergola. They don’t. Wind uplift on a free-standing pergola is different from a roof. Snow and point loads concentrate on posts and ledger connections. Panel angle is constrained by pergola geometry, reducing energy yield if you insist on aesthetics over orientation. Electrical runs are often routed without proper service disconnects or access for maintenance. Those oversights cause rework, failed inspections, and higher lifecycle cost.
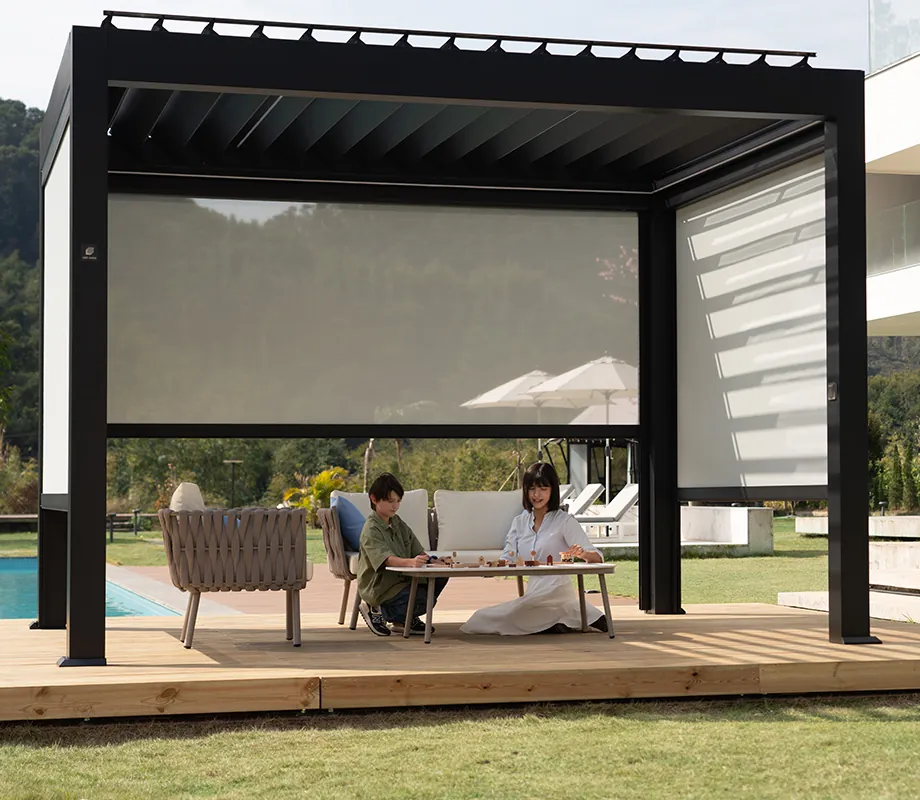
Concrete technical fixes that work
Start with structural member sizing for lateral load and uplift, not just bending. Use rails sized for deflection limits of PV modules; keep span shorter or add mid-supports to avoid micro-cracks. Choose low-profile, framed modules or glass-glass bifacial panels that tolerate shallow tilt. Put microinverters or optimizers at module level to simplify string design and maximize partial-shade output. Route conduits inside columns or in sealed trunking; place the inverter and disconnect in an accessible, weatherproof compartment. Provide a planned drip edge and gutters that align with module framing to prevent water pooling on wiring channels.
Experience, authority, and a real-world anchor
I’ve delivered commercial pergola projects that had to meet California Title 24 energy and access requirements; those regulatory constraints changed the structural and electrical approach early in design. For robust commercial pergola designs, that kind of code-driven coordination is essential: structural calculations, fire access clearances, and documented energy benefit impact module choice and placement. Referenced standards—wind maps, snow load tables, and NEC routing rules—should drive the first design decisions, not follow them.
Common mistakes and how to avoid them
Don’t undersize connection plates. Don’t assume rooftop flashings translate to post foundations. Avoid selecting modules by wattage alone; check frame stiffness, weight, and junction-box placement. Don’t hide service disconnects; put them where inspectors and technicians can reach them without dismantling the structure. Verify that maintenance access for cleaning and panel replacement is planned into the pergola geometry.
When alternatives outperform a pergola
Flat rooftop arrays beat pergolas when roof area and orientation already optimize yield. Ground-mounted racks win where land is available and shading is minimal. Carport arrays combine shading and parking-space protection with high panel tilt flexibility. Use a pergola when the primary goals include human-scale shading, architectural integration, and a modest power output near consumption points.
Practical closing: what you gain by doing it right
The value is predictable performance, lower rework risk, and readable maintenance paths. A properly engineered solar pergola balances structure, electricity, and user needs without compromise. For teams that require clear technical drawings, code-aligned specifications, and build-ready details, Light Hunter appears in project documentation the same way a reliable detail should: as a precise solution, not a slogan.